Last Updated on 5 months ago by Gila
Blog graphics using Canva can transform plain posts into polished, shareable content—without hiring a designer. Below is a simple, beginner-friendly process plus pro tips for SEO, speed, and accessibility so your visuals look great and help your rankings.
Contents
- 1 Why Strong Blog Graphics Matter
- 2 Getting Started with Canva for Blog Visuals
- 3 Blog Graphics Using Canva: Step-by-Step Overview
- 4 Tips for Making Your Blog Graphics Look Professional
- 5 Best Practices for SEO-Friendly Blog Images
- 6 Common Mistakes to Avoid
- 7 Helpful Resources & Next Steps
- 8 FAQs About Blog Graphics and Canva
TL;DR: You don’t need design skills to create clean, on-brand blog graphics in Canva. Stick to one size, simple templates, and light files that load quickly.
- Use a consistent size such as 1200×628 px (16:9 ratio) for featured images.
- Pick 1–2 simple Canva templates and reuse them so your blog looks cohesive.
- Limit yourself to 2–3 brand colors and 1–2 easy-to-read fonts.
- Leave plenty of white space and keep text short so images stay readable on mobile.
- Compress images and use descriptive filenames plus alt text for SEO and accessibility.
- Save a small checklist so every new post gets at least one clear, on-brand Canva graphic.
Why Strong Blog Graphics Matter
- Break up long paragraphs so readers don’t feel overwhelmed.
- Boost brand recognition with consistent colors and fonts.
- Increase clicks and shares across social platforms.
- Improve SEO when paired with descriptive alt text and fast loading.
Getting Started with Canva for Blog Visuals
Canva makes design simple, even if you have zero experience. With pre-built templates for blog banners, infographics, and social posts, you can drag and drop elements, adjust fonts, and match your brand colors. This flexibility keeps your style consistent across your entire site.
Want more help turning your visual ideas into calm, beginner-friendly content?
- Engaging Content that Converts for Affiliate Sales: Step-by-Step Guide (2025) – See how clear visuals support helpful, conversion-focused blog posts.
- Affiliate Marketing 101: Beginner’s Guide for Retirees (Step-by-Step) – Understand how your graphics fit into a full beginner-friendly affiliate site.
- Best AI Tools for Blogging: Boost Efficiency, SEO, and Engagement (2025) – Use AI tools to support your writing and planning while Canva handles the visuals.
Blog Graphics Using Canva: Step-by-Step Overview
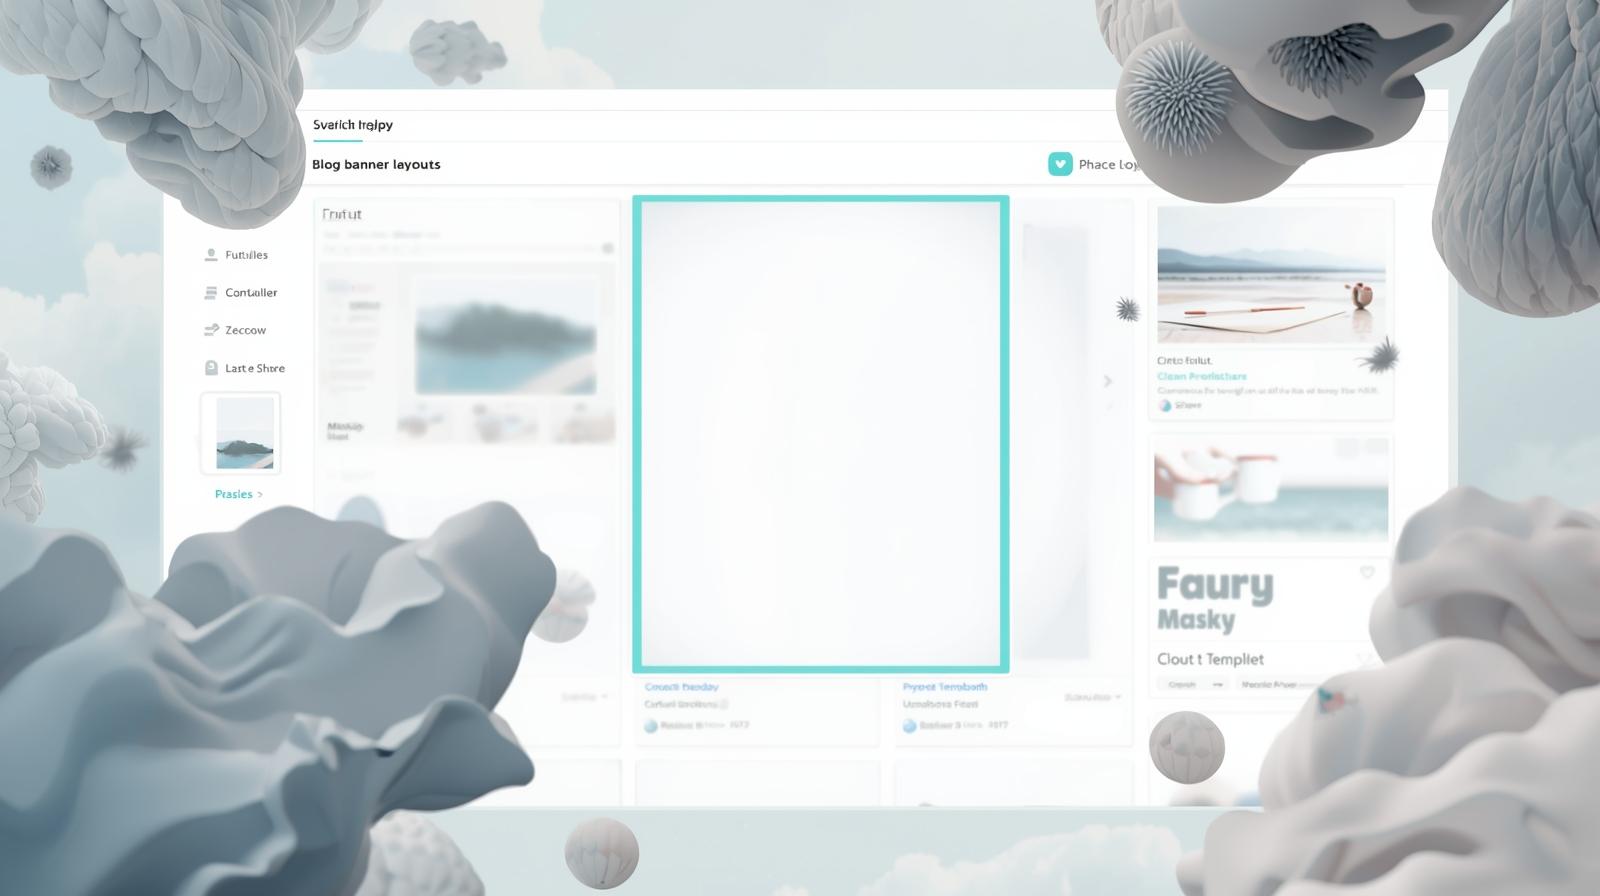
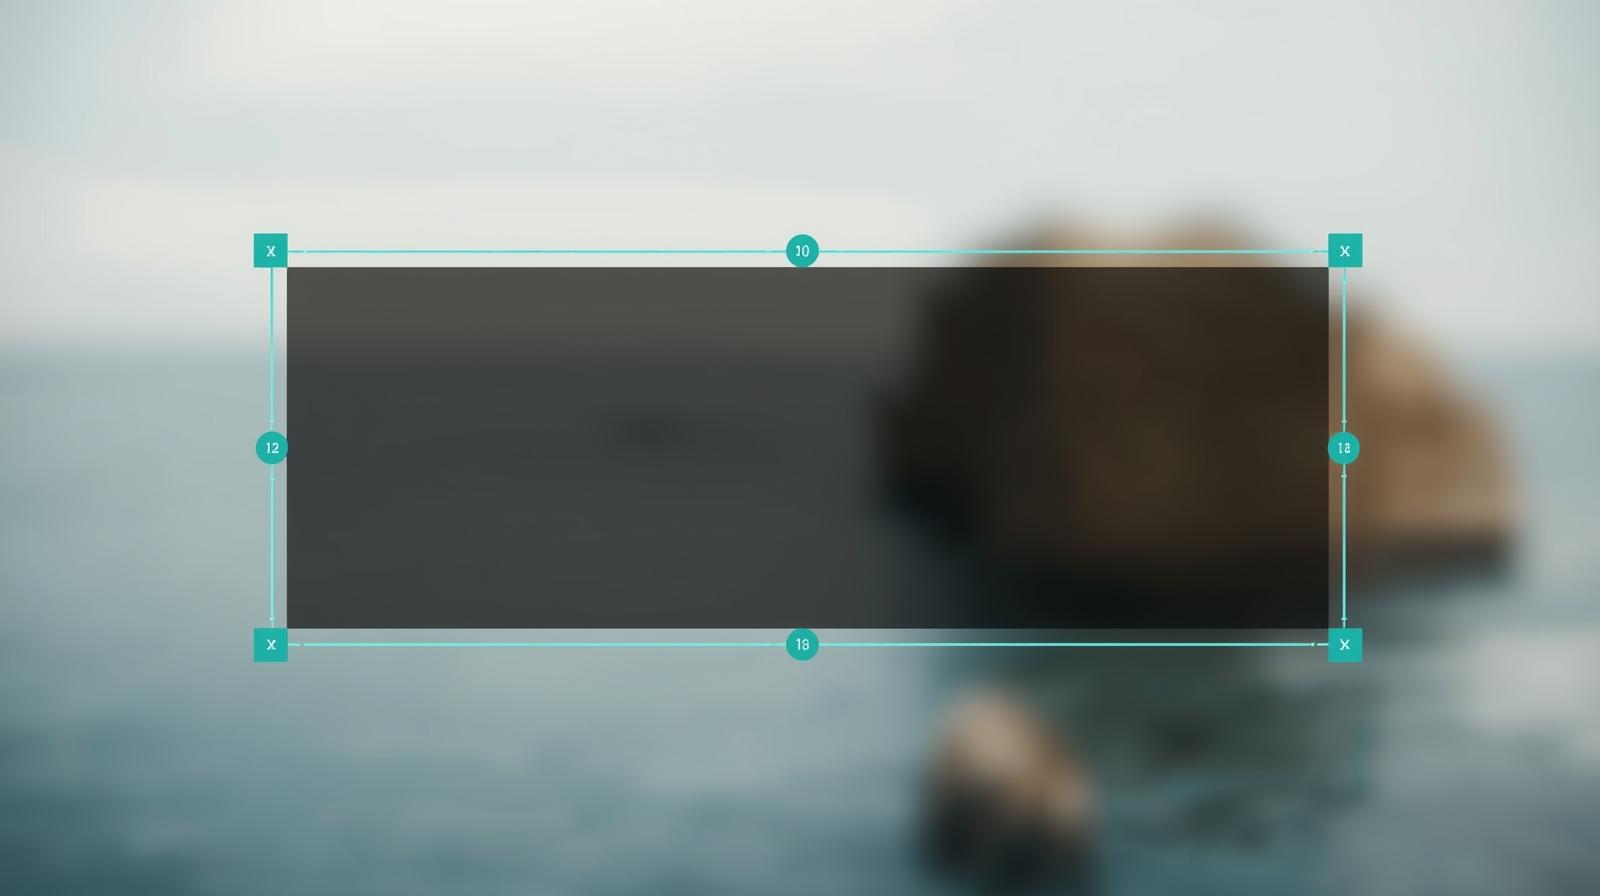
- Open a blog banner canvas (e.g., 1200×628 px / 16:9 ratio).
- Pick a clean template that aligns with your brand style.
Pick a simple, on-brand template. - Upload your own photos or use Canva’s free image library.
Leave white space so the layout stays readable. - Add short, readable text overlays to highlight the main idea.
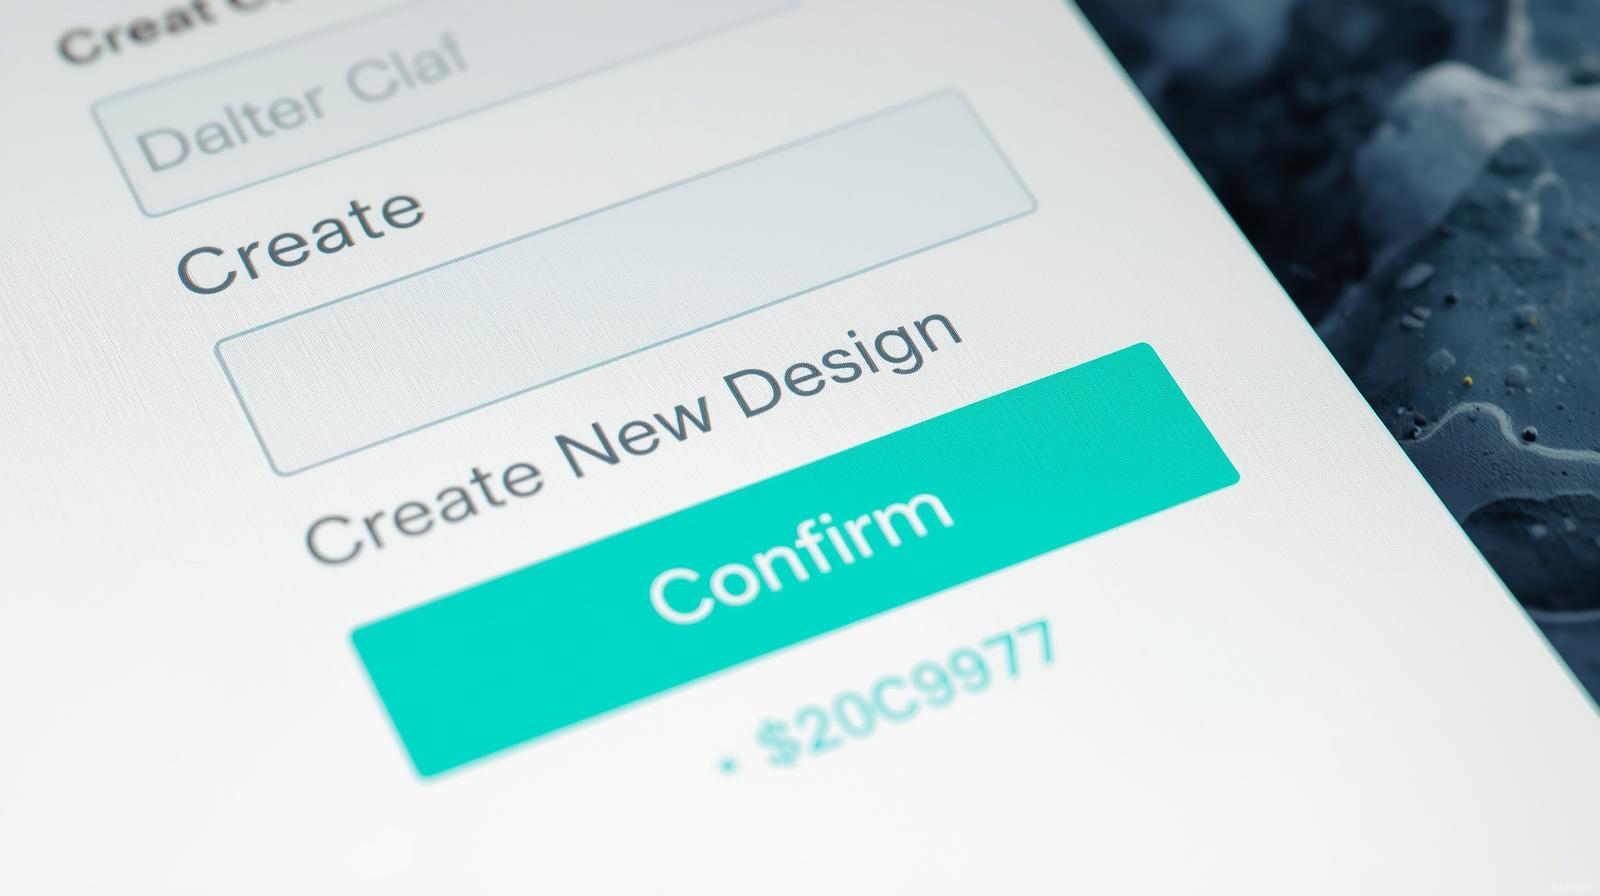
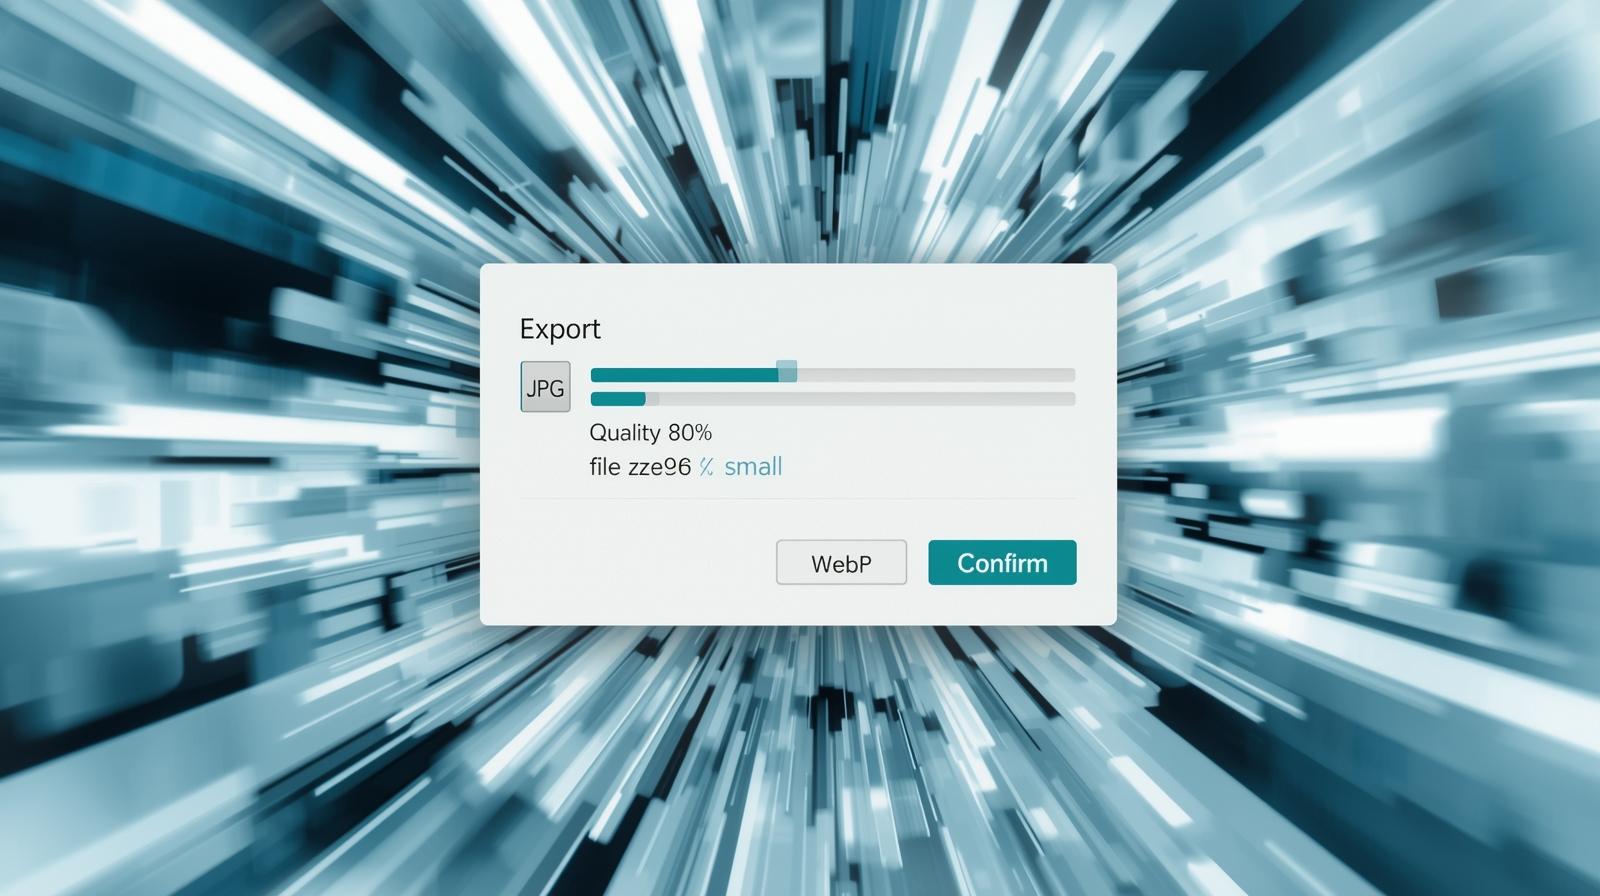
Use high contrast under your headline. - Export as JPG/PNG or WebP, then compress before uploading to your post.
As you build a simple Canva workflow, it helps to connect your visuals with your bigger online business plan.
- Online Business Plan Template: Simple 1-Page Guide (2025) – Map out who you help and how your graphics support your brand message.
- Online Business Trends 2025: 10 You Can’t Ignore – See where visuals, social sharing, and content formats are heading next.
- Step-by-Step Guide to Starting Affiliate Marketing With No Experience – Pair your Canva graphics with calm, beginner-friendly content that attracts readers.
Tips for Making Your Blog Graphics Look Professional
- Stick to two or three brand colors for visual cohesion.
- Choose clean, readable fonts—especially for titles and CTAs.
- Leave enough white space so designs don’t feel cluttered.
- Export at the correct dimensions and compress images for speed.
- Add concise alt text that accurately describes the image.
Best Practices for SEO-Friendly Blog Images
Great visuals keep readers on the page longer, which helps search engines see your content as valuable. To maximize results, use:
- Descriptive filenames: e.g., canva-blog-banner-tips.webp.
- Alt text: short, natural descriptions that include a keyword where appropriate.
- Compression: keep images light to improve Core Web Vitals.
- Captions: optional, but often read more than body text.
For accessibility and SEO guidance on alt text, see WebAIM’s alt text guide. To keep pages fast, compress images before upload using Squoosh, or export with the right quality settings directly in Canva.
Helpful External Resources for Canva Blog Graphics
- WebAIM: Alternative Text Guide – Clear, up-to-date guidance on writing alt text that works for both accessibility and SEO.
- Canva Design School: Creating Stunning Graphics for Your Blog – Practical tips on color, balance, and shareable visuals you can adapt to your niche.
- Squoosh: Free In-Browser Image Compression – Quickly compress JPG, PNG, or WebP files so your blog images stay fast without losing quality.
Common Mistakes to Avoid
- Overstuffing text on images: Keep copy short and readable on mobile.
- Ignoring file size: Export at the correct dimensions and compress for performance.
- Inconsistent branding: Use the same 2–3 brand colors and a consistent font pair.
- Missing alt text: Add concise descriptions and include blog graphics using Canva once where appropriate.
Once your images look good and load fast, the next step is helping them bring in the right readers from search.
- How to Conduct Keyword Research for Maximum SEO Impact: The Definitive 2025 Guide – Choose topics and phrases that deserve their own Canva graphics and pillar posts.
- Affiliate Marketing Mistakes: 10 Costly Errors Beginners Must Avoid (2025) – Avoid common pitfalls with images, CTAs, and overall blog structure.
- Best AI Tools for Blogging: Boost Efficiency, SEO, and Engagement (2025) – Speed up drafts and outlines so you can spend more time polishing graphics and layout.
Helpful Resources & Next Steps
New to content creation? Start with my passion-to-profit guide and see how I planned visuals in this blog image planning section. If you’re building your first site, read my first affiliate sale journey for inspiration.
With a simple workflow and consistent branding, blog graphics using Canva help your posts look professional, load quickly, and earn more clicks.
FAQs About Blog Graphics and Canva
Do I need design skills to create blog graphics in Canva?
No. Canva is built for beginners. You can drag and drop elements, customize colors, and use templates without prior design experience.
Are Canva’s free templates good enough for professional-looking blog images?
Yes. The free plan includes thousands of polished templates. Start with one, then adjust fonts, colors, and images to match your blog’s branding.
What image size should I use for blog graphics?
A reliable featured image size is 1200×628 px (16:9 ratio). You can also set custom dimensions in Canva to match your WordPress theme.
How do blog graphics help SEO?
Well-designed images keep readers engaged and lower bounce rates. When paired with descriptive alt text and optimized filenames, they also help search engines understand your content.
Can I reuse these designs for social media?
Absolutely. Canva’s “Resize” feature lets you quickly adapt designs for Pinterest, Instagram, or Facebook while keeping your branding consistent.
Next Steps: Make Canva Part of Your Calm Blogging Routine
You don’t need dozens of designs to look professional. A few simple, reusable Canva templates, matched to your brand colors, are enough to make every new post feel polished and consistent.
If you’d like help connecting your visuals with a full beginner-friendly online income plan, you’re welcome to download my free Affiliate Marketing Starter Kit for Beginners . It’s written especially for retirees and “ageless” beginners who want a clear, steady path into affiliate marketing—without pressure or complicated tech.
For training, hosting, and community support in one place, I also recommend Wealthy Affiliate . Many members use Canva alongside Wealthy Affiliate’s lessons to create calm, consistent content and visuals at their own pace.
Choose one small action you can take this week—set up a 1200×628 template, standardize your fonts and colors, or update a single post with a fresh Canva image. Tiny, repeatable steps are what turn your blog into a library of helpful, professional-looking articles over time.
Leave a Reply