
Last Updated on 4 weeks ago by Gila

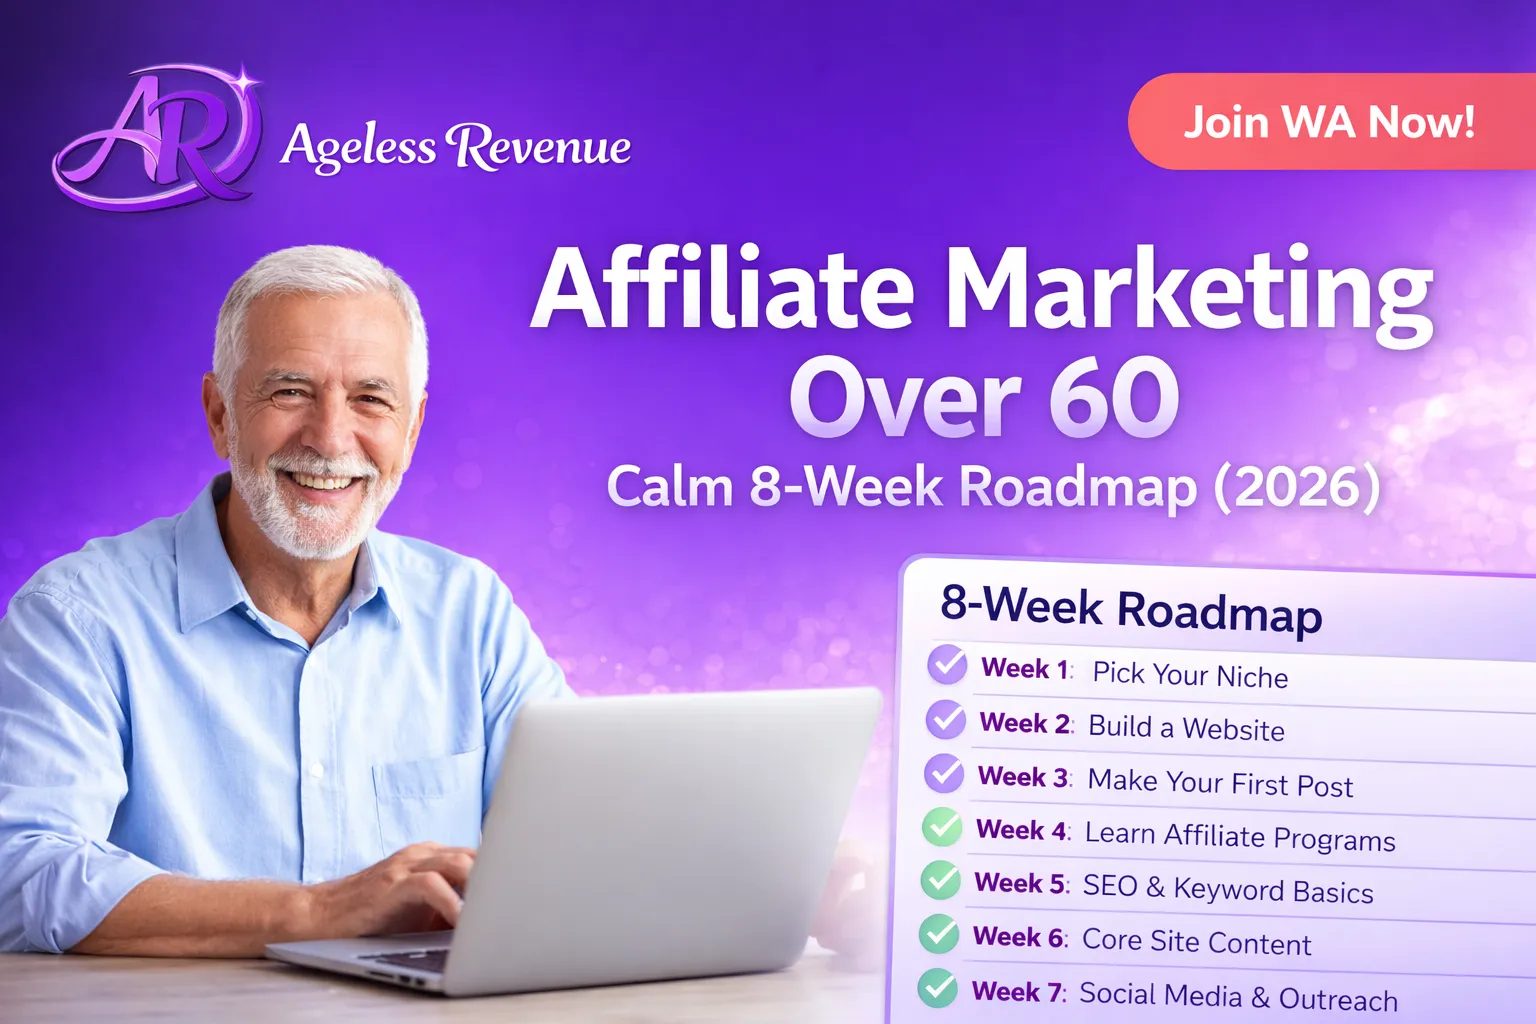
If you’re over 60 and thinking about affiliate marketing, you’re probably looking for something that feels calm, realistic, and beginner-friendly. Not hype. Not “get rich quick.” Just a steady plan you can actually follow.
This 8-week roadmap is designed for retirees who want to build an online income stream step by step, even if you’re not tech-savvy. You’ll focus on one simple goal at a time: set up a clean website, publish helpful content, and gradually build traffic and trust.
You don’t need to do everything at once. You need a repeatable routine and a clear next step.
TL;DR
- This is a calm 8-week plan for retirees over 60 to start affiliate marketing in 2026.
- Week 1–2: choose a niche direction, set up your site, and make your first topic list.
- Week 3–4: publish your first two helpful posts (simple “how-to” content).
- Week 5–6: add internal links, create a basic lead magnet, and publish two more posts.
- Week 7–8: improve your best post, build a weekly routine, and set a 90-day content plan.
- Most important: consistency beats speed. One good post per week is enough.
What is affiliate marketing (in plain English)?
Affiliate marketing means you recommend a product or service you genuinely believe can help your reader. If someone clicks your link and makes a purchase, you may earn a commission.
For retirees, this can be a great fit because:
- You can start small and learn as you go
- You can work from home on your schedule
- You can build something that grows over time
- You can focus on helping people, not chasing trends
Before you start: choose a simple niche direction
A niche is just “who you help and what you help them with.” The best niche is usually a blend of:
- Something you know or can learn comfortably
- Problems people actively search for
- Products or services that genuinely help
If you feel stuck, pick one of these beginner-friendly angles:
- Hobbies in retirement (gardening, crafts, photography, cooking)
- Health and wellness habits (non-medical, lifestyle-focused topics)
- Budgeting and retirement lifestyle (saving money, planning, simple tools)
- Starting a small online business (affiliate marketing for beginners)
If you want help validating your niche direction, this guide is a good next step:
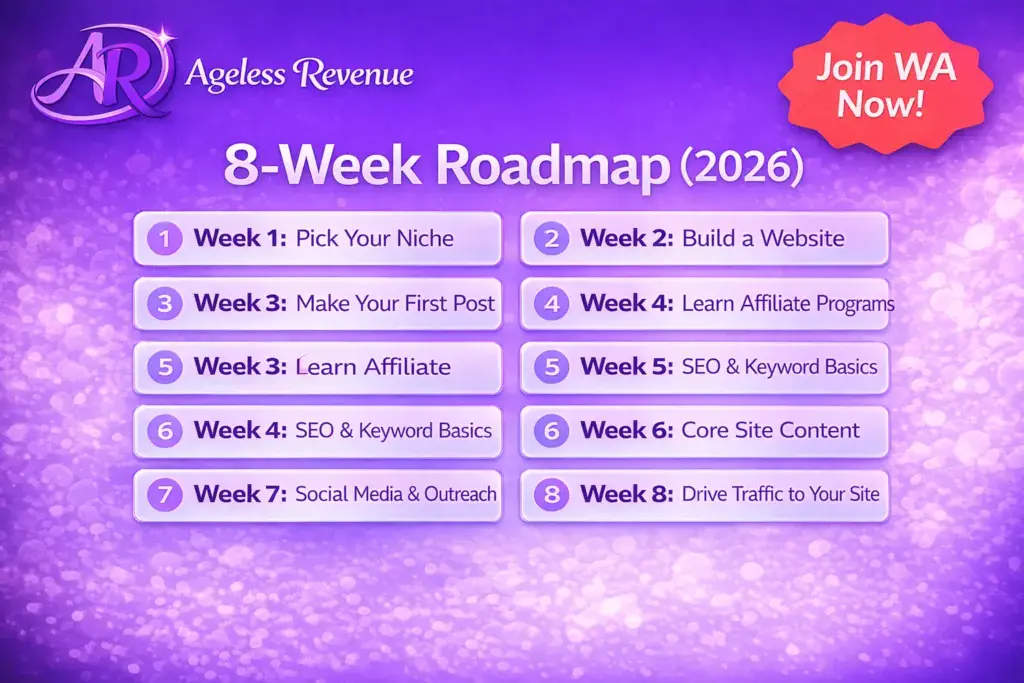
Your calm 8-week roadmap (2026)
Week 1: Set your goal and keep it small
- Pick one niche direction (not five)
- Write a simple goal: “I will publish 1 helpful post per week for 8 weeks.”
- Create a folder for your project (Articles, Images, Notes)
Week 2: Set up your website (simple and clean)
- Choose a domain name you can say out loud easily
- Install WordPress and a clean theme
- Create 3 pages: Home, About, Contact
- Write a short affiliate disclosure and add it to your site
If you want a step-by-step website walkthrough, use this:
Week 3: Build a list of 15 beginner-friendly topics
Your goal this week is to stop guessing what to write. Start by listing questions your reader asks. Examples:
- “How do I start ____ as a beginner?”
- “Best ____ for beginners over 60”
- “What is the easiest way to ____?”
- “Beginner checklist for ____”
Choose topics that are simple and helpful, not competitive product reviews yet. If you want a gentle SEO guide, use this:
Week 4: Publish Post #1 and Post #2 (helpful “how-to” posts)
Keep your first posts simple. A great beginner format is:
- Short intro (who this is for and what they’ll learn)
- Steps or checklist
- Common mistakes
- FAQ
- Conclusion + one gentle next step
Try these starter post ideas:
- “How to start ____ in retirement (beginner steps)”
- “Beginner checklist: ____”
Week 5: Add internal links and a simple content routine
Internal links help your readers and help search engines understand your site. This week:
- Add 2 internal links from Post #2 to Post #1
- Add 1 internal link from Post #1 to Post #2
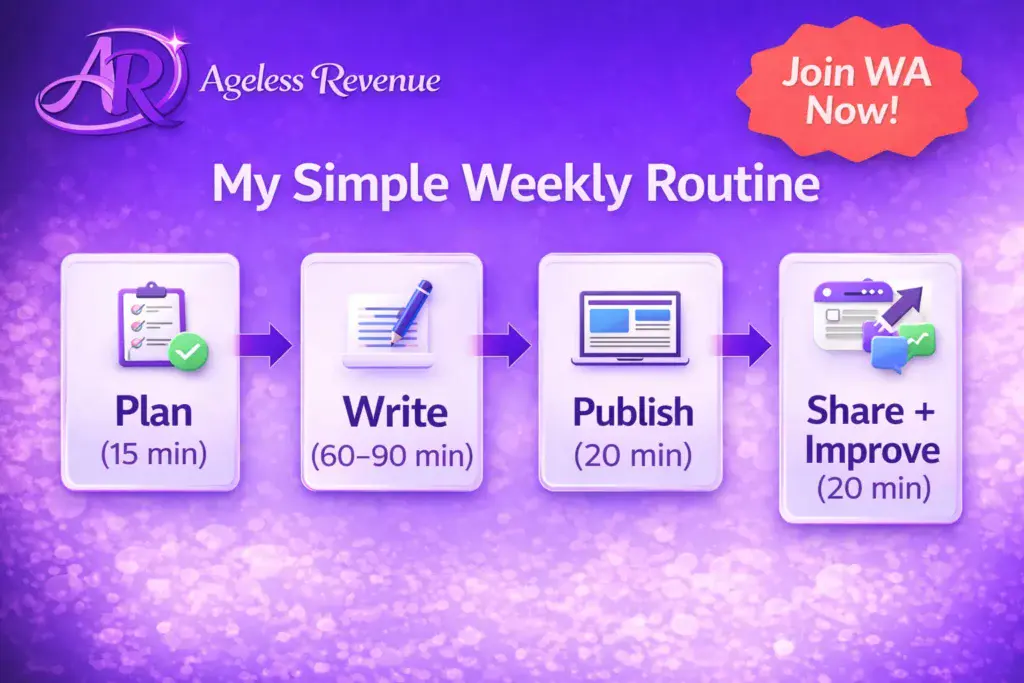
- Write down your weekly routine (so you repeat it)
A simple weekly routine for retirees:
- Plan (15 minutes): choose your topic and outline
- Write (60–90 minutes): draft your post
- Publish (20 minutes): add images, links, and FAQ
- Improve (20 minutes): update one thing and move on
Week 6: Publish Post #3 and Post #4 (then add a simple lead magnet)
This week is about building momentum and starting your email list gently.
- Publish Post #3 and Post #4 (same simple helpful format)
- Create one small freebie (a checklist, 7-day plan, or one-page guide)
- Add an email signup form near the end of your posts
You can use your Starter Kit as your freebie:
Week 7: Improve your best post (small upgrades that matter)
Pick the post that feels most useful and improve it with one of these:
- Add 3–5 more FAQ questions
- Add a simple checklist section
- Add a clearer step-by-step example
- Add 2 more internal links
Small improvements compound over time.
Week 8: Create your 90-day plan (simple, doable, calm)
Now that you’ve built momentum, set a calm 90-day plan:
- Choose 12 topics (one per week)
- Choose 2 simple product recommendations you genuinely trust
- Create a repeatable weekly routine (same days, same times)
- Track progress: posts published, email signups, clicks
If you want a beginner-friendly training platform that includes hosting, support, and step-by-step lessons, here’s the one I recommend:
Start Wealthy Affiliate here (recommended training)
Common beginner mistakes to avoid (especially over 60)
- Trying to learn everything first: publish while you learn
- Choosing a niche that’s too broad: “help one person with one problem”
- Writing only about products: start with helpful how-to content
- Comparing yourself to younger creators: your experience is your advantage
- Quitting too early: results come from steady posting over time
Frequently Asked Questions (FAQ)
Q: Is affiliate marketing realistic for retirees over 60 in 2026?
A: Yes. It’s one of the most beginner-friendly online business models because you can start small, write helpful content, and grow steadily. The key is consistency, not speed.
Q: How much time do I need each week?
A: Plan for 4–7 hours per week to start. Even 30–60 minutes a day is enough if you follow a simple weekly routine.
Q: Do I need to be tech-savvy?
A: No. You only need a basic setup and a repeatable checklist. You can learn as you go and keep your website simple.
Q: How long until I earn money?
A: Many beginners need a few months to see consistent traffic and commissions. The goal of this 8-week roadmap is to get you publishing and building momentum—the foundation for income.
Q: What should I promote first?
A: Start by promoting beginner-friendly tools or training you genuinely trust. Make sure your first posts focus on helping readers, then add your recommendations naturally with clear disclosures.
Conclusion
If you’re over 60, you don’t need a complicated strategy. You need a calm roadmap you can stick with.
Follow the 8-week plan, publish consistently, and keep your site simple. That’s how momentum builds. And momentum is what creates results.
CTA: Start with the printable version
If you want the exact checklists and simple steps in one place, download the free Starter Kit here:
If you’d like a guided platform (training + hosting + support in one place), here’s my recommended next step: